Thursday, December 15, 2022

Starting the sides.

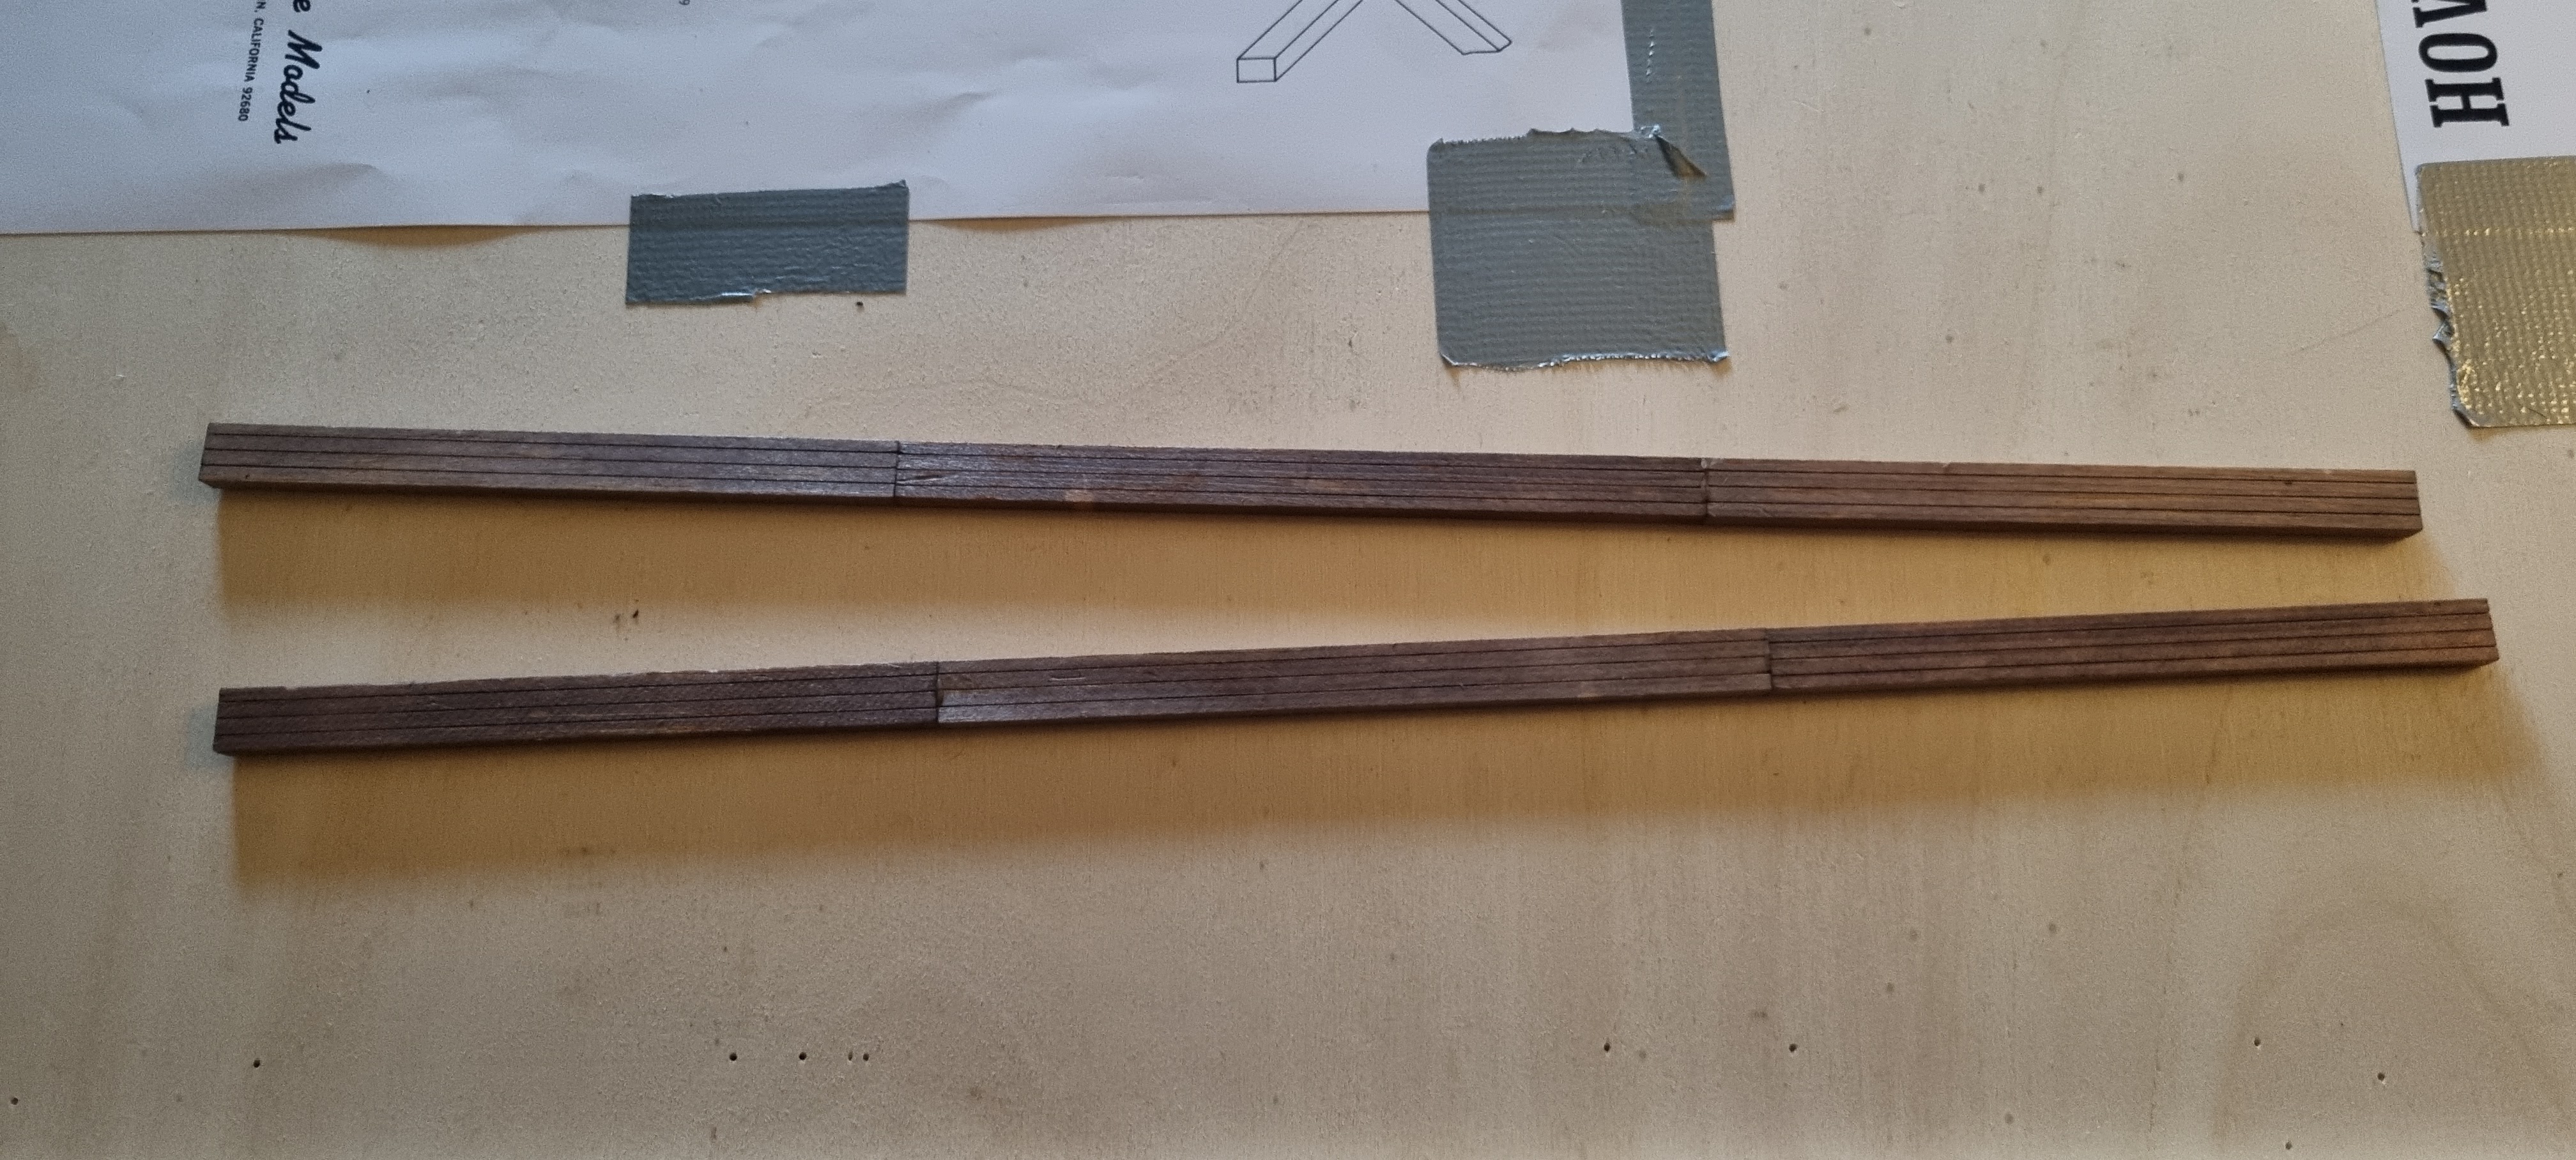
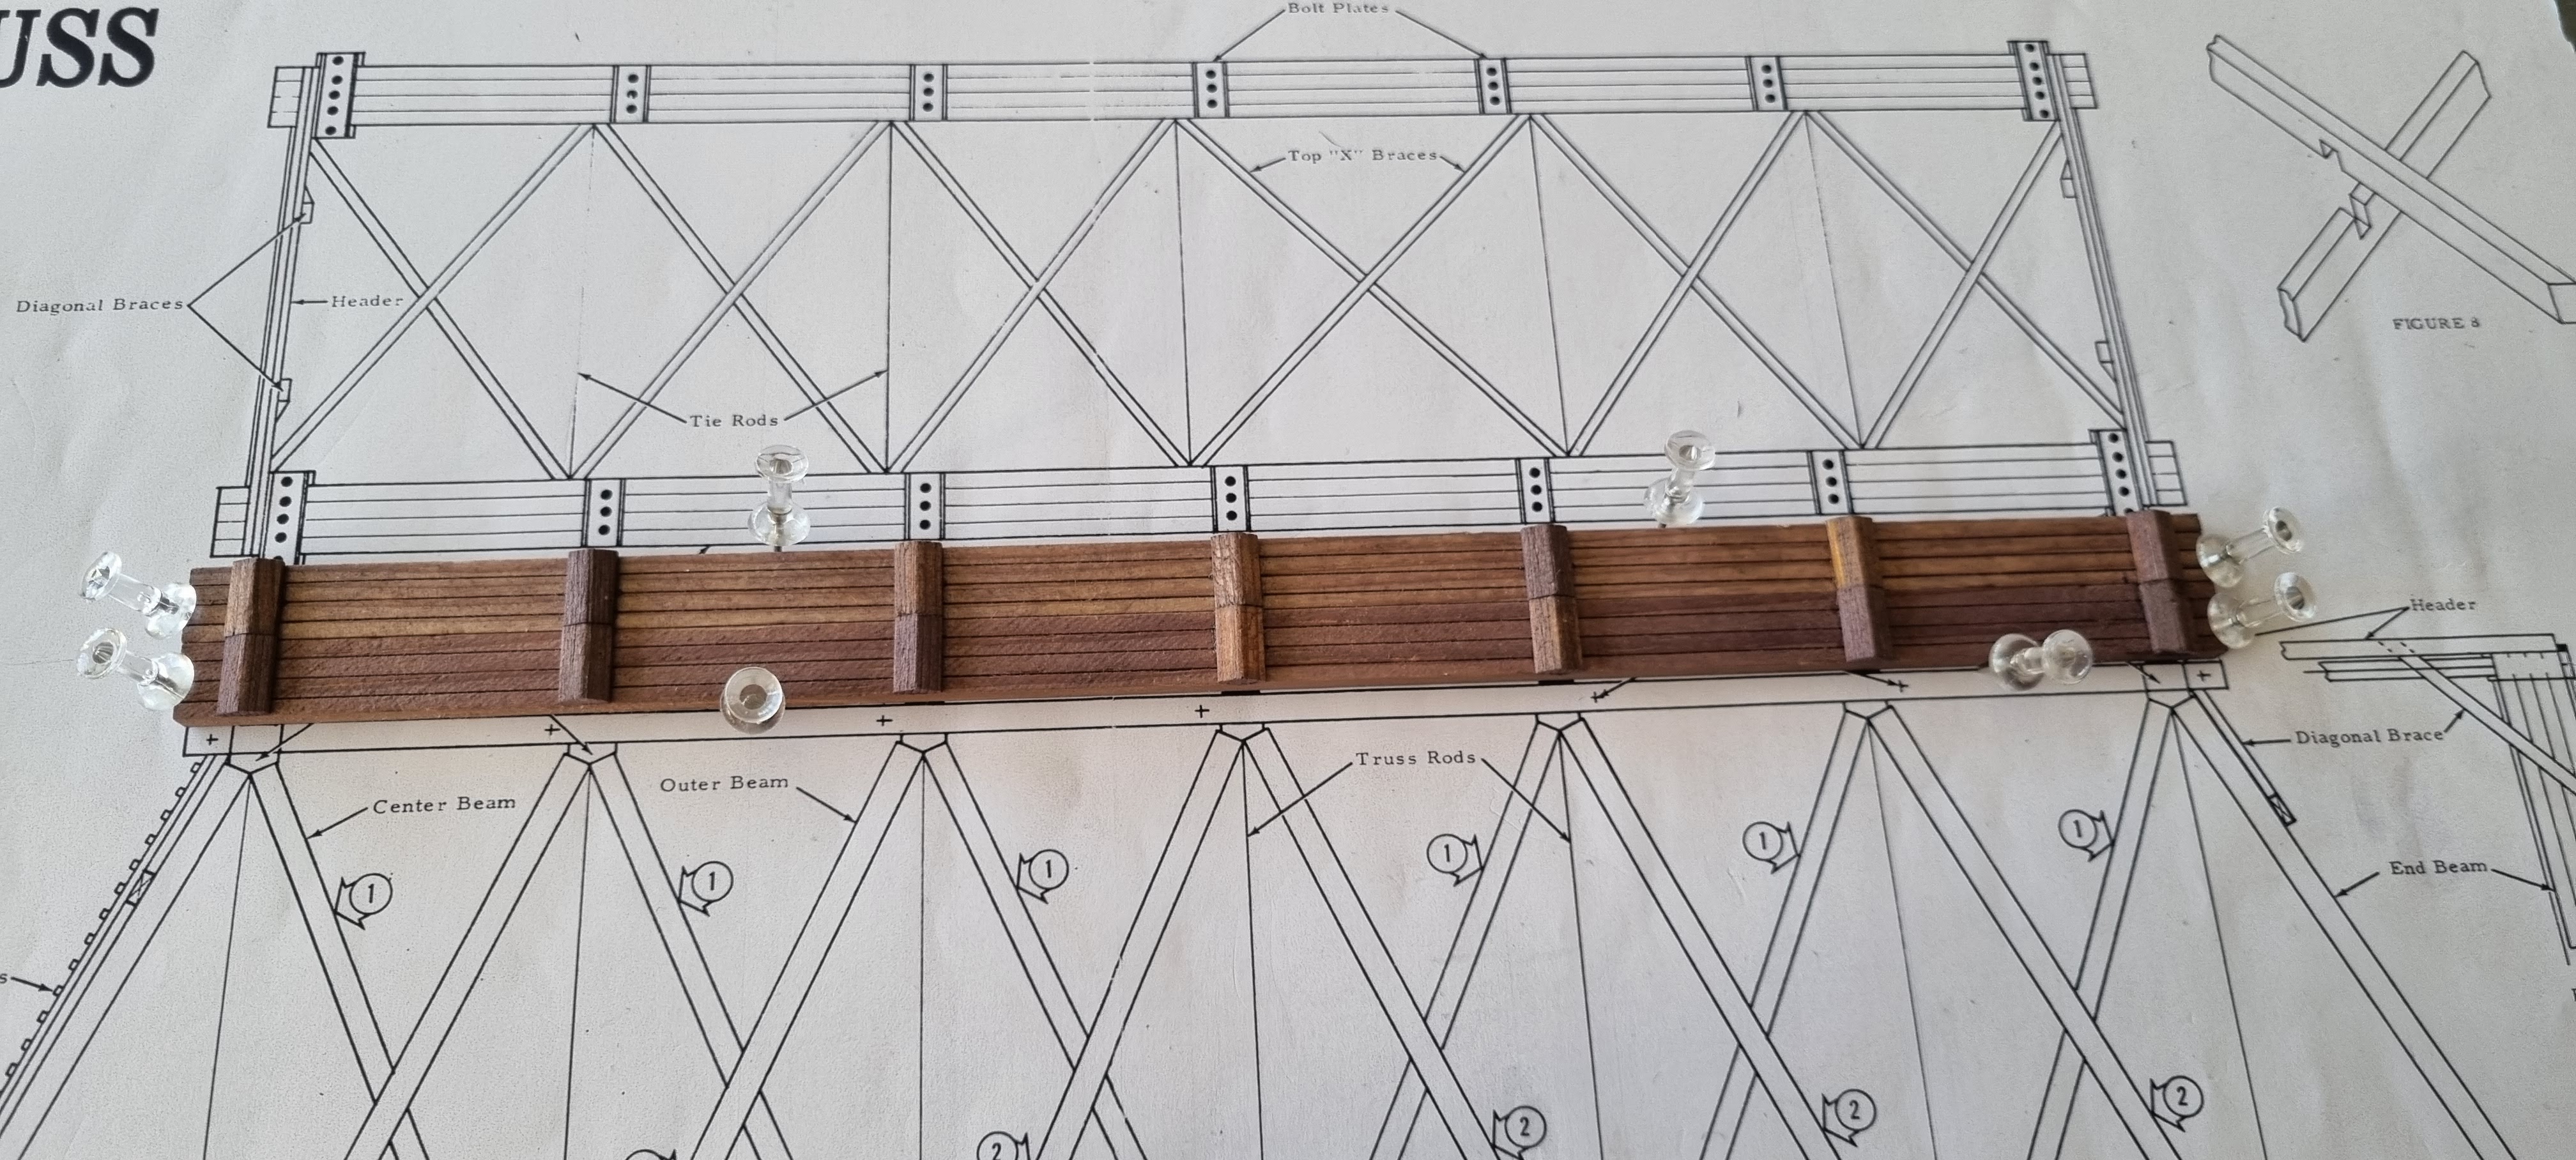
 Today I glued the angle blocks to the long girders. After that I glued the ends to both girders. I do have the wrong push pins so I ordered a bunch of socalled T-pins. You can order them at a....... knitting store! Never imagined I would place a order in such a store :) These pins are also used by the real RC airplane builders who do build the classic way with balsa:


I tested the X-brace placement and that will fit well. It will be challenging to get that neatly in place.
Stay tuned!


Wednesday, December 14, 2022

Starting the build.

 Yesterday I glued the main girders together. They are made out of 3 pieces. The top girders are 1-piece ones:


This morning I started with measuring the position of where the angle blocks have to be glued. I put them next to each other so that they are identicall when putting the sides of the bridge together. I mark them so that they are all four pointing the same way:


Detail of the angle blocks:


More to come!

Grtz, Ronald. 

Sunday, December 11, 2022

The plan.

Kit parts are ready, now the base for building. On a piece of plywood I taped a copy of the plans provided by Campbell. Copy because I want to save the original drawing.


A seperate copy of the tiedeck is taped opposite of the plan:


First fit on the plan:


Stay tuned!

Stained the wood!

 The kit is ready now, all wood is stained. I made a mix of 50% darkgrey, 25% lightgrey and 6% mahonie. The latter is the strong colour, after drying it is still a little reddish.

The test; right darkgrey, left my mix:


Workspace; kitchen. With special permission from the wife!:


First batch:


Drytime needed on towel paper:


Most done except the long pieces:


Almost dry:


This morning they where ready to be sorted and packed:


So far ready for the build! This way the pieces are way more easy to identify:


Stay tuned for the build coming weekand have a good sunday!

Grtz,Ronald

Saturday, December 10, 2022

Testing

Did some tests and not that satisfied with the brown//reddish colours. My preference would be the dark gray colour.

Mahonie and dark grey:


Light grey and teak:


Friday, December 9, 2022

And made the sachets into liquid stain. Ready for use!


Very easy to make. Just 250 ml warm water and add the powder from one sachet. Stir it, let it cool down and it is ready to use.


Stain!

 Stain has arrived. Its powder that you have to dissolve in hot water. So now I have to find me a small pan to do that. Because my wife will kill me if I take one of hers! :)


Wednesday, December 7, 2022

Order in modeling!

 Today between my nightshifts I sorted out the wood in the Campbell kit. All is in the kit so building it will be no problem.

The stain is arriving tomorrow.  Stay tuned!


Build me a Howe Truss bridge!

 A total other project ongoing is this Campbell kit


 Today I visit a copyshop here in the neighbourhood and let them made copies so that my original drawings stay clean. The copies will be placed on a sheet of wood so that the sides and bottom can be build 100% flat:


This is what it will be:
 

The kit is provided with a good quality wood, and all extra is sorted out in little bags:


The main bridge parts and the extra parts plus details:

The bridge building is pure for me to practice, and I like this type of building a lot. The kit by the way I bought in England at Hattons, and a friend of mine picked it up when he visited Great Britain last week.

Stay tuned. This week I order some stain for the wood.

Btw, I have aquired a second Campbell kit which is the wharf kit. I will adapt the ACW plan to see if I can adapt the wharf kit to that plan:


Grtz, Ronald. 

Monday, December 5, 2022

Some info

 The 44 tons locos I bought will be converted to the ones of the Claremont and Concord railroad as they operated their short line end of the seventies last century. They had these small locos so tht they cold operate on the ex-tramway line with sharp curves and turnouts.

The scheme is seen here. The green is very early so the red will be the firt. As 2 of them are already red andyellow the second one will be in the.... yellow scheme. Challenge will be to get the original decalling of those 2:


Decals are from Highball Graphics from the USA. They look very good so I'm very curious how they will be in handling and putting on:


So now you know!

Grtz, Ronald.


Some changes in the blog.

 Hi all,

Renamed my page today. Next to Civil War interest I do a lot of other things that are also nice to follow :) So from now on this blog will cover what I do in my modeling. Hope you will stay to see! Can promise you that it will cover interesting subjects.

The ACW H0 project will continue. The plan will get a little change so stay tuned on that one. Next to that a few other ones in H0, my main modeling scale.

Here a few new locos for a exiting project to come! Bachmann H0 44T and 70T locomotives.


Stay tuned!!


Wednesday, October 26, 2022

Good exhibition

 Goodmorning! The diorama did well during the OntraXS exhibition which was held on 23, 24 and 25th of september in the Railway Museum in Utrecht the Netherlands. 


I had just received my demo table from Martin Welberg (owner of Martin Welberg Scenery Products) which still needs a good front photo plate. Diorama stood for 3 days and received next to my demo good feedback allthough its a trainrelated show.

Had a lot of fun building it and in time it will receive all the figures I planned for it.

Few photos with the cannon:


Later!


Friday, August 26, 2022

Almost finished!

 Well, the dio is almost finished. Bought a nice tree for it from th MBK brand:


Allthough H0 it is big enough for this scale. Poked a hole in the Sculptamold:


Shortened the wire and put it in white glue:


And on its spot. Also placed a set of 3 bushes from the same brand on the right:


I'm satisfied! Just a few small tune-ups and its done!