Yesterday we did several things to the layout, we "greened" the hill and made the road over the tracks:
I gave both sets of figures some sand covered on their supports so it looks better and more natural this way:
A litt;e dog is pee-ing on the tent:
Made some switch stands after some prototype photo's from styreen:
And on their place. Doesn't look bad, or?:
And with more green:
Today we did a lot of work, I went on with the green work on the left as my wife did the Lavy hotel. Maybe it is a little too romantic but we are very satisfied with the look of it.
SO; ALMOST FINISHED!!:
Pictures:
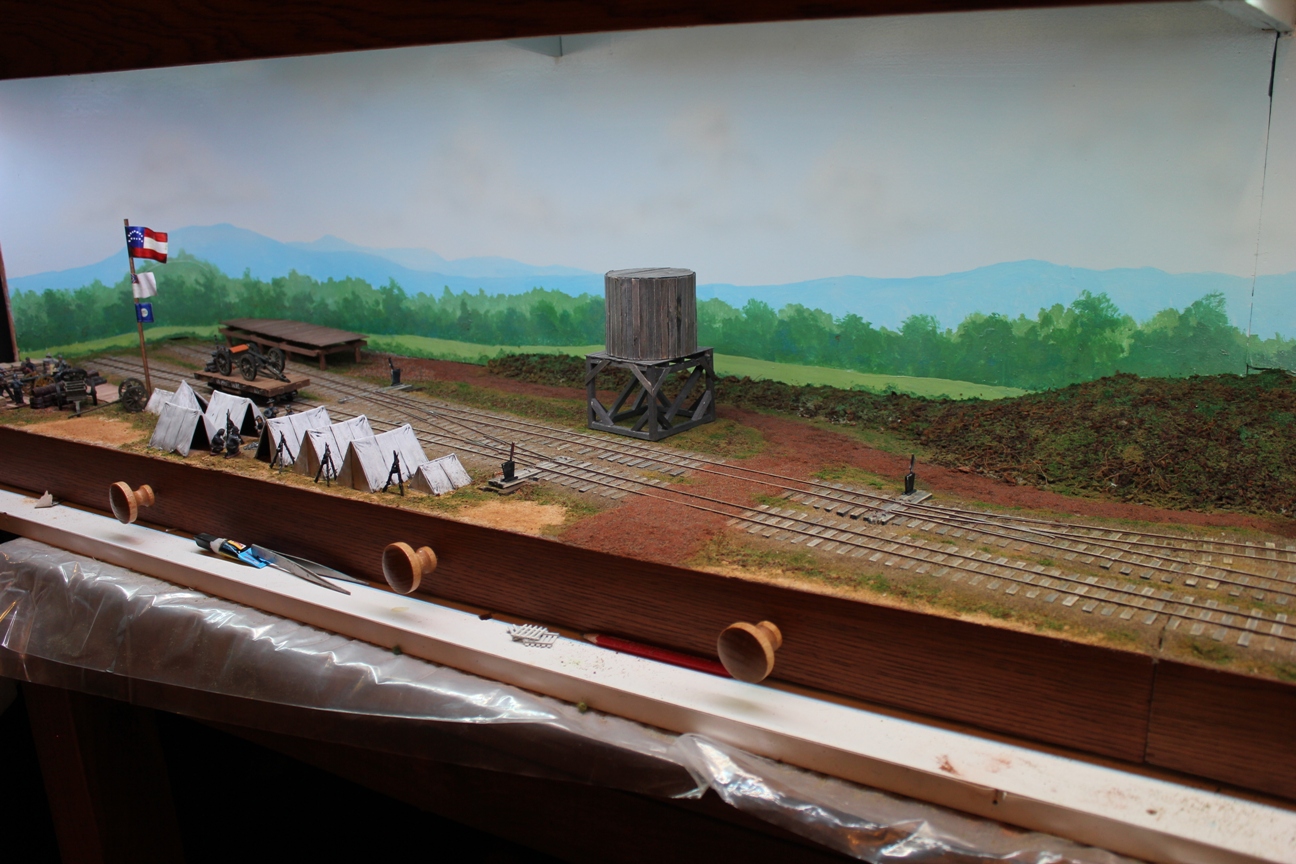
Overview
Left camp side:
Artillery shooting point:
The Lacy Hotel:
So far we did well. We hope you liked the building, I'm sure we did. There will be little updates from now, the layout goes to a Dutch Exhibition next weekend on 8, 9 and 10 March (http://www.spoorwegmuseum.nl/news__press/on_traxs.html). After that it will attend in the same museum a half year exhibition that is called "tracks to the frontlines". It covers trains in wartime from the ACW (my layout!) to the present. It also will behold several models and real equipment from several countrys that participated in the several wars over the years.
So we keep you posted!!
Thanks for watching!!!!