Sunday, July 31, 2022

The picture is clear!

 Goodmorning!

Progress is good! Made a extra ledstrip in the back, later I will explain why:
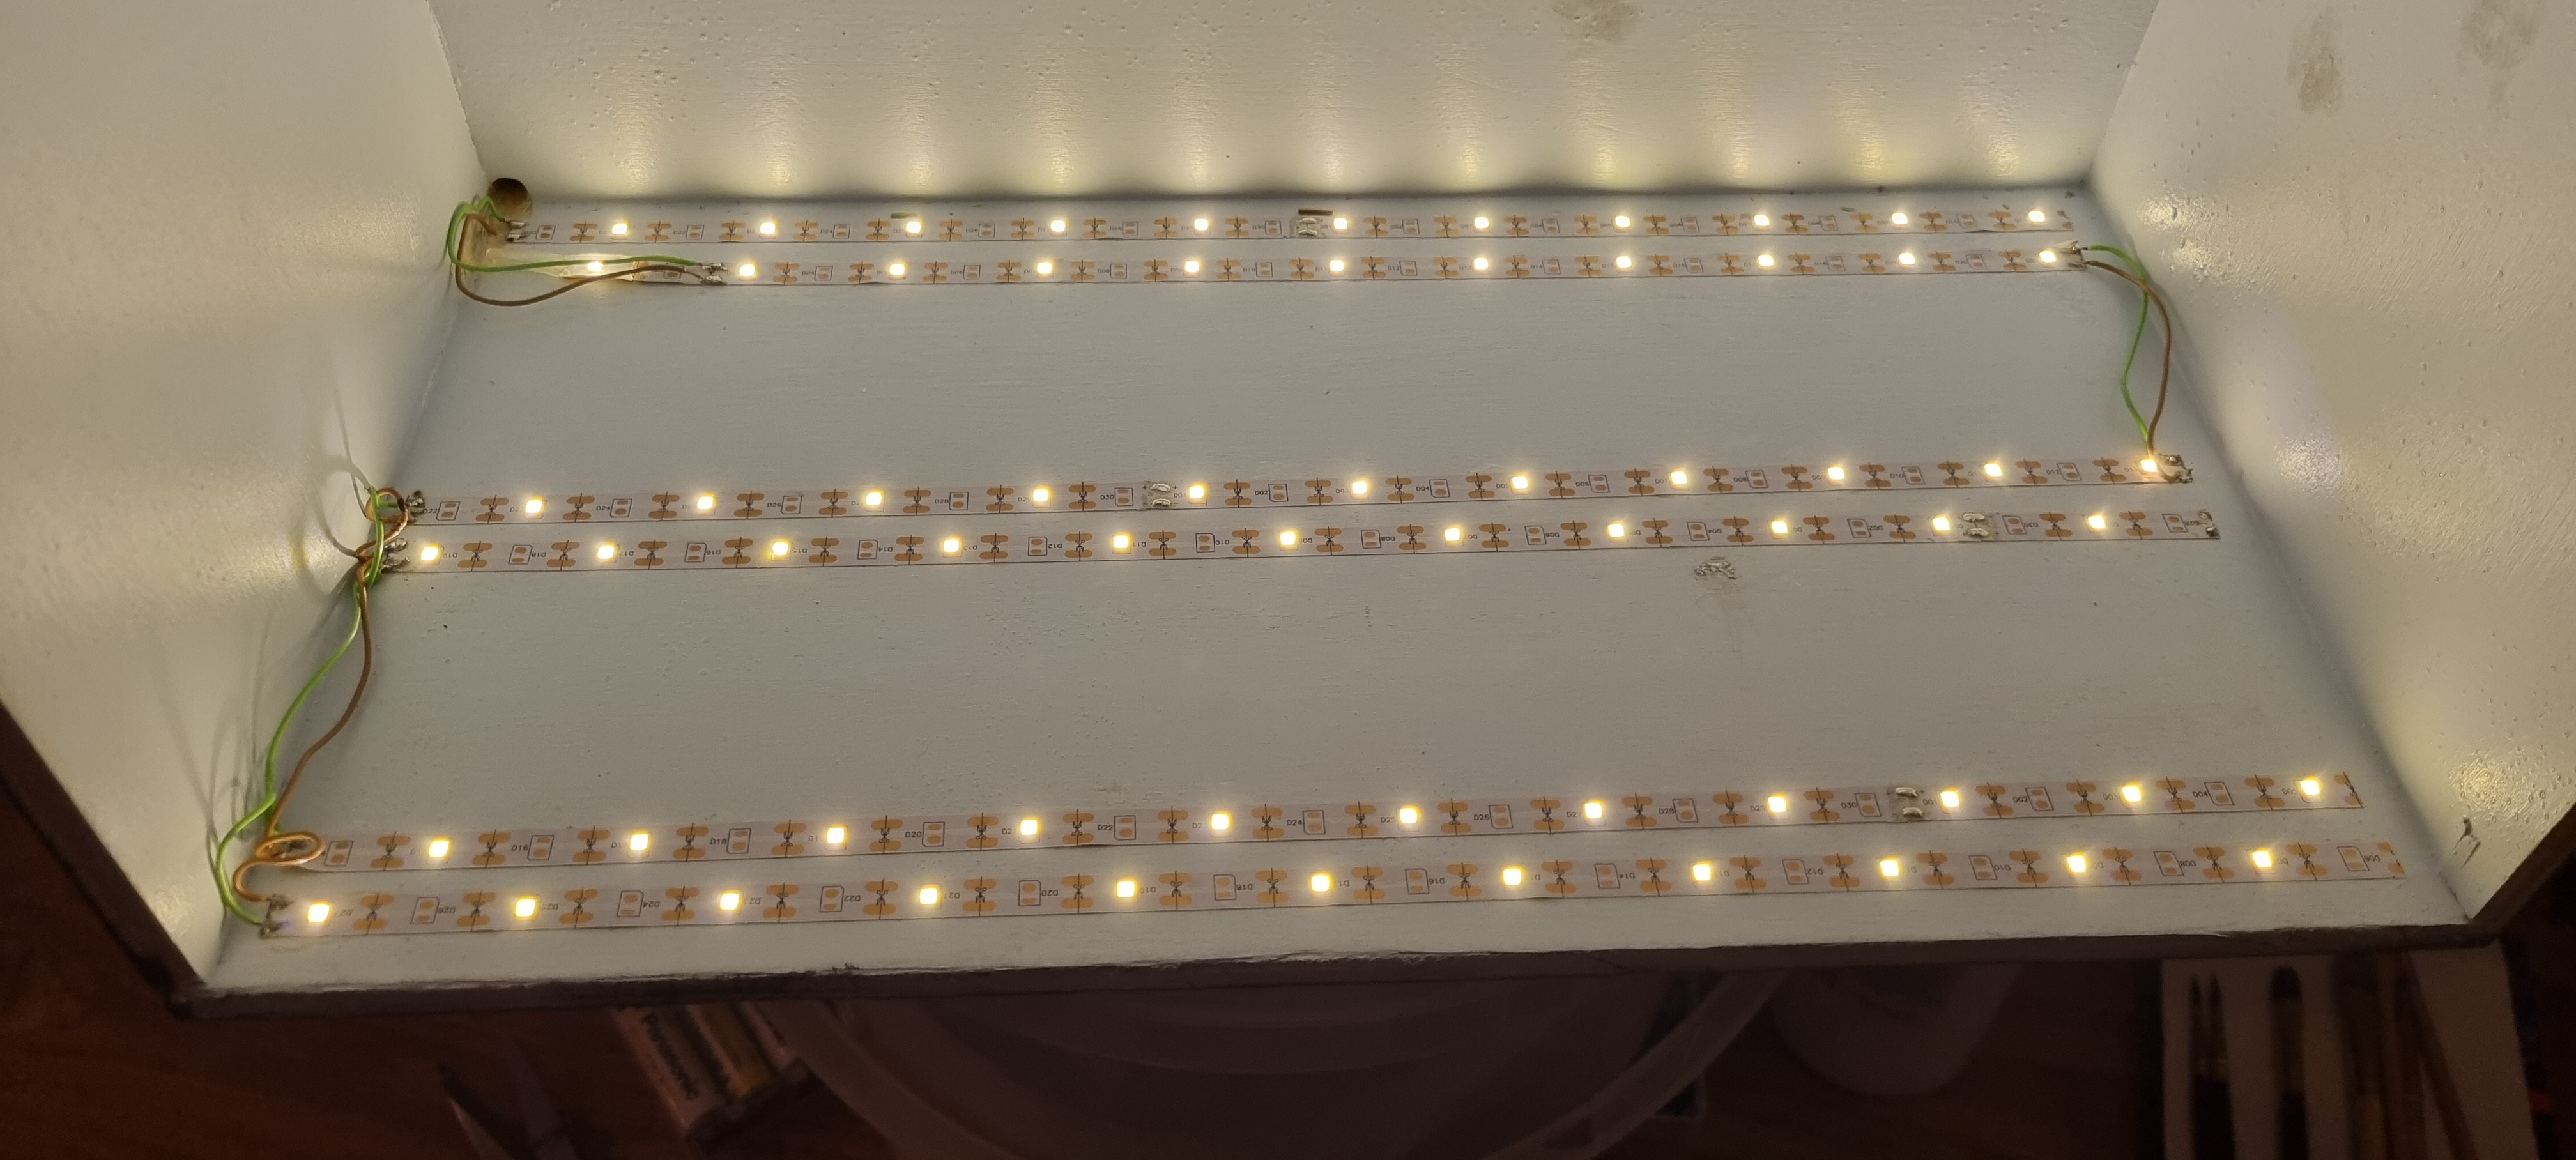

Looks good so far:


Needed fine sand to make a good landscape filler like the MIG and Vallejo ones. This is Chincilla sand:


Basis of the mix I make is Gesso from the artist shops:


Some acrylic paint to colour it:


And mix it thoroughly:


The first piece on the base:


And on the rest. Because of the fine sand it gives a good rough underground:


After it dried I had to soften the background colours, they where to hard. So I took my airbrush and compressor outside:


And toned down the colours and set a white above the horizon line:


With light on:


And with the base in it:


So that was done. Then I did give the base a black wash:


And let it dry overnight:


We are getting there!:


After the wash the terrain needed a drybrush, I do that with the same acrylic tube colours:


When that has dried (short time) it was time for the first Woodland Scenics fineturf. I use the two basic colours brown and green:


The technique is simple; "stipple" white glue directly random:


And push a little with a brush:


Then apply a little from both in the same move:


And work your way over the base:


The result is this:


Put it back in the case to see it under its own light:


Satisfied! Later!

Sunday, July 24, 2022

Its coming along!

Well, made good progress! First the set of 1:32 figures had to be cleaned from flash:


You see they have a lot of that:


After that they needed some basic paint, in my cads


Painting:


And drying:


Testfitting the wooden base in the box:


And the figures dried well. These will be painted:


The dioramabox will need som light. I choose a simple ledstrip from a shop called Action. They are well known in Europe for cheap products. This strip is 3 meters long, only white leds and has a batterybox. Very usefull on exhibitions where you don't need extra power for it:


I cut those to fitting pieces, need 5 of them. They have self-adhesive backs but I put some extra dots gel superglue with that to fix them:


For in place:


In between I painted the hill on the base a dark brown which I mixed from different acrylic colors:


Time for soldering the wires to the strips. Onlyconcern is to keep track of the polarity. Where you wire them doesn't care, all are in parallell:


First test, they work!:


Temporary fit with light:


With the front attached, looks good to me!:


So, lets mix some paint! I do that with simple cheap acrylic paint colors. For beige I need 4; red, yellow, white and green:


4 equal dots:


Mix them with a paletknife:


Dark brown, to dark:


Yellow and white to lighten it, more yellow for the beige:


Thats the one I need! This color is for the sand part in front:


And painting:


And ready, its the look I want:


Testfit after drying, with the 5 strips of light it is what I had in mind:


And with the figires in base paint. Can you envision my idea?:


More to come!

Greetz, Ronald.