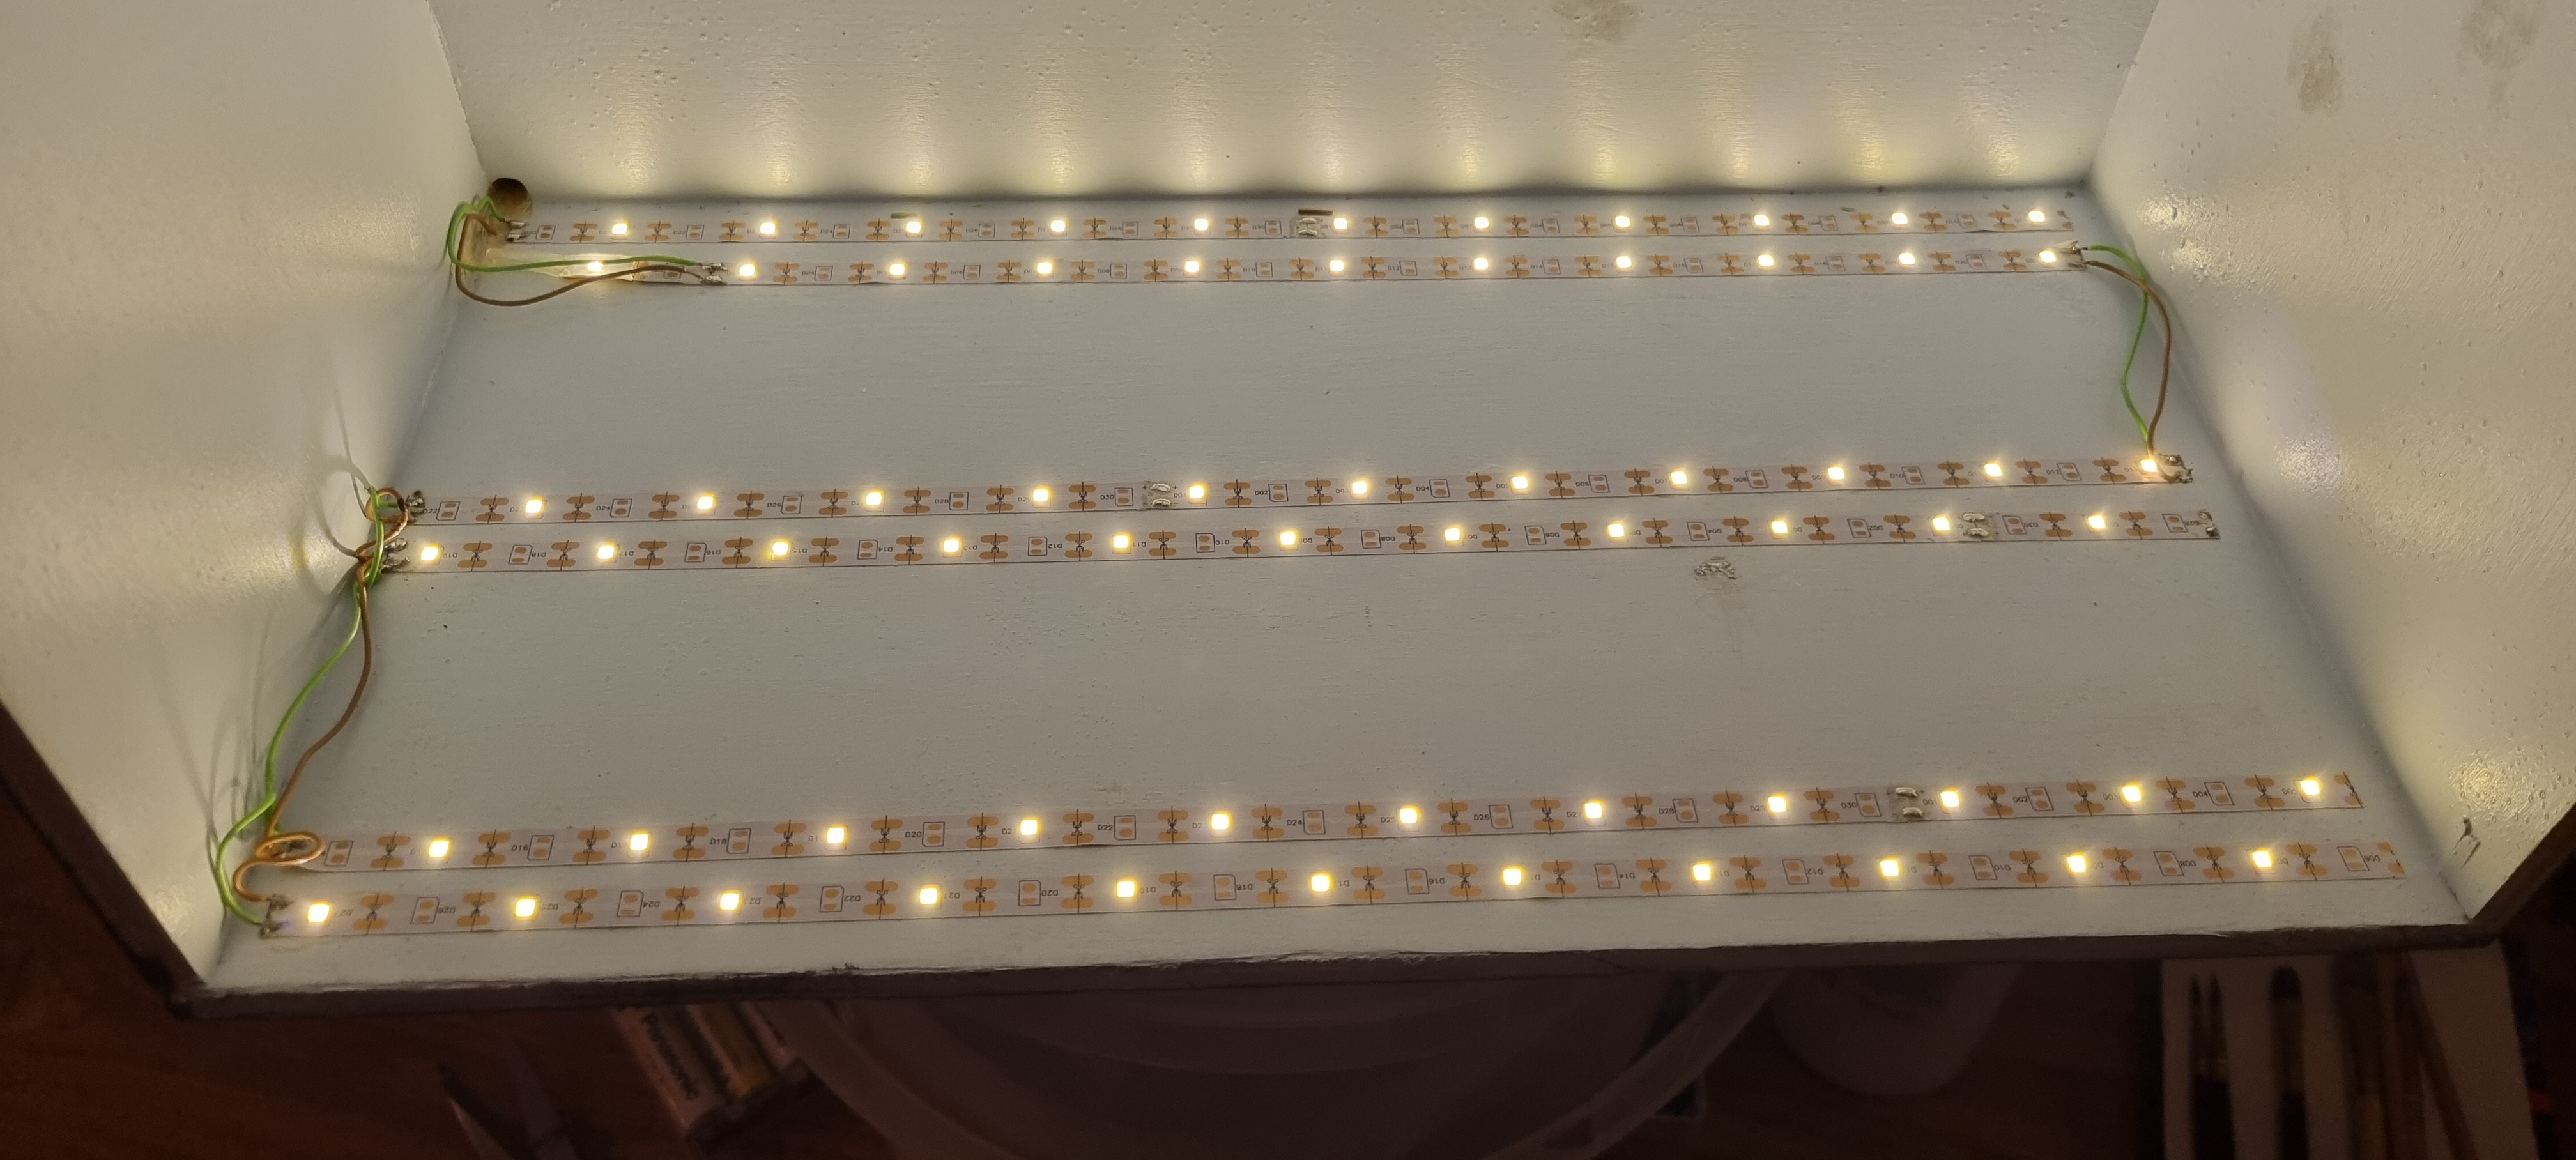
Hi all, work is going on. First some fine turf overall:


After drying:

With the actors:


Now the bigger brushes. From my friend Martin Welberg from Martin Welberg Scenery I got some testmats and not-approved-for-sale mats. They came in very handy now. Tore them off and applied them with white glue:

Looks better already!:


He has a fine range of brushes so I applied some of them:

The mats:
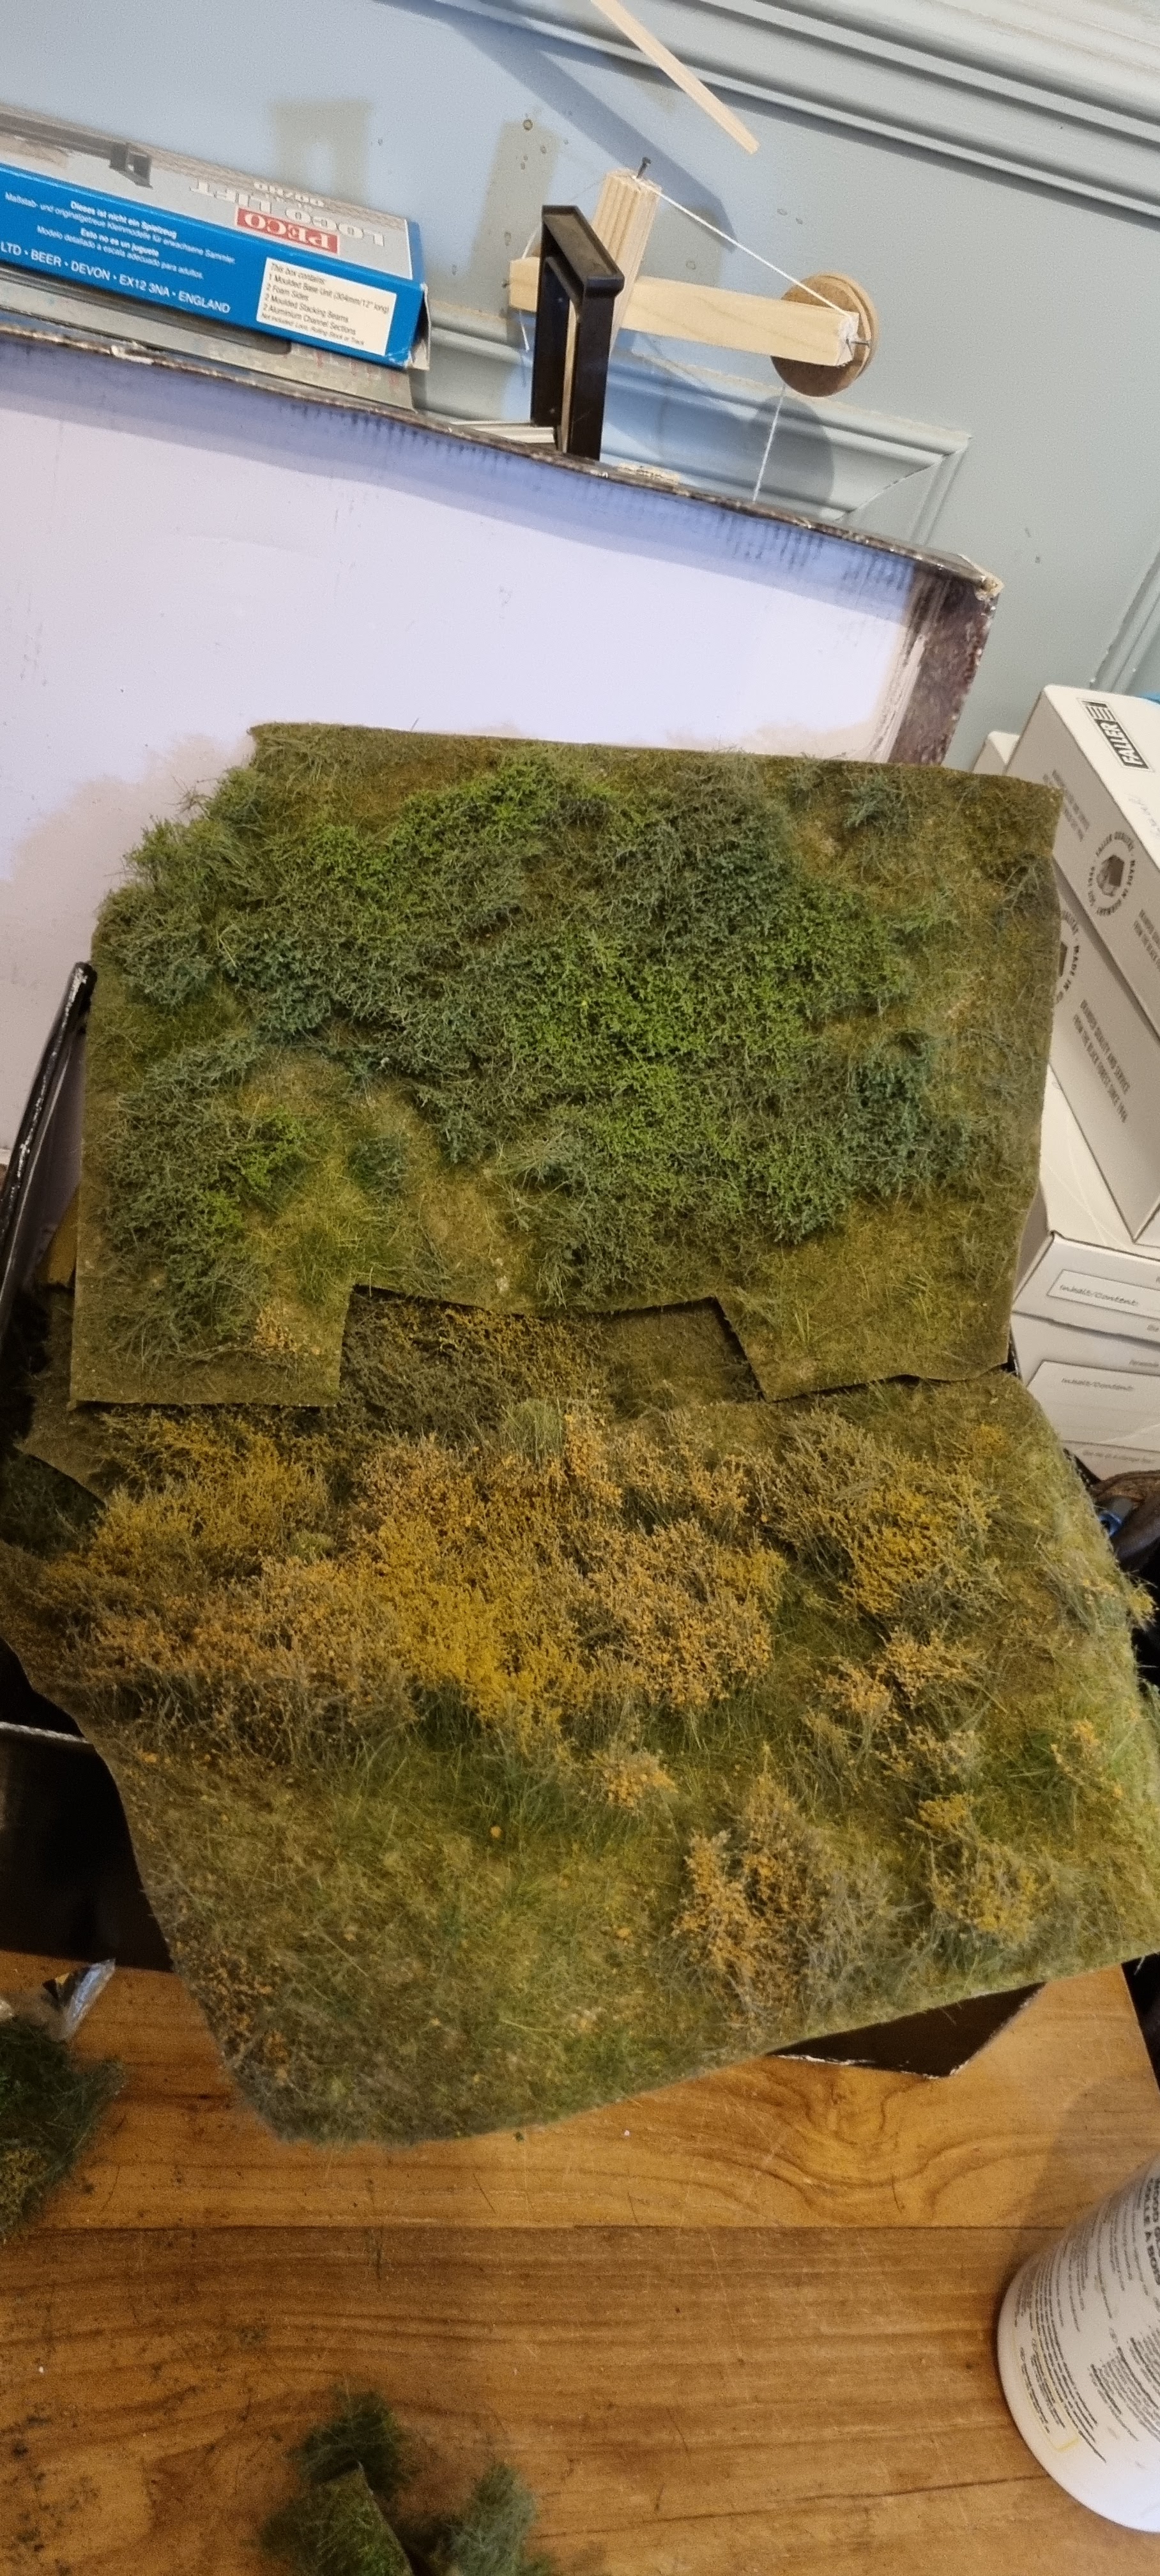
The big brushes are in place:


Now its time for the finer stuff. One of my favourites to use are the Heki Flor and Microflor products:

Cut them in random pieces:


Then smaller pieces:

Apply dots of white glue:

Tear the little piece in all directions and after that drop it in the glue and form it a little with your fingers. The result is very good low growth:

With some flower tufts:

Ready for the grass fibers:


The grassfibers are applied with a static applicator from RTS. Its there 55 kV model and it works great up to 12 mm long fibers. Very easy to use, its power is a 9V block battery:

First lightbrown fibers:

Brown is all ready:


And ready:

All took me a good hour of work. Overall view:


Closeups. Middle:

Left corner:

Right corner:

The case needed a little more depth, applied a small strip of wood on the front:


Painted in the right colour:

And with the front screwed on:


Very happy with it! My friend Ronald (yes, same name!!) has a laser and is designing and making some typical ACW gate stuff so stay tuned. More to come!
Greetz, Ronald.